No-Fuss Everyday Sourdough Loaf. No rigid schedule. No babysitting. Just really good bread.
Can I be honest with you for a second?
I was a little overwhelmed when I first started reading about everyday sourdough. No metal spoons. Use this amount of rye and this amount of bread flour. Stretch & fold each hour on the hour. There was a tried and true method for each, and it felt more like a lifestyle choice than a recipe.
And the wild part? I am a culinary trained person. I had experience in skilled kitchens. I ran a pizzeria operation out of a horse trailer. Even then I could not understand whose sourdough rules to use or how all the rules were against one another.
I had given up trying to do what others were doing regarding it. I learned what’s really important, and what’s not. And the answer is the loaf!
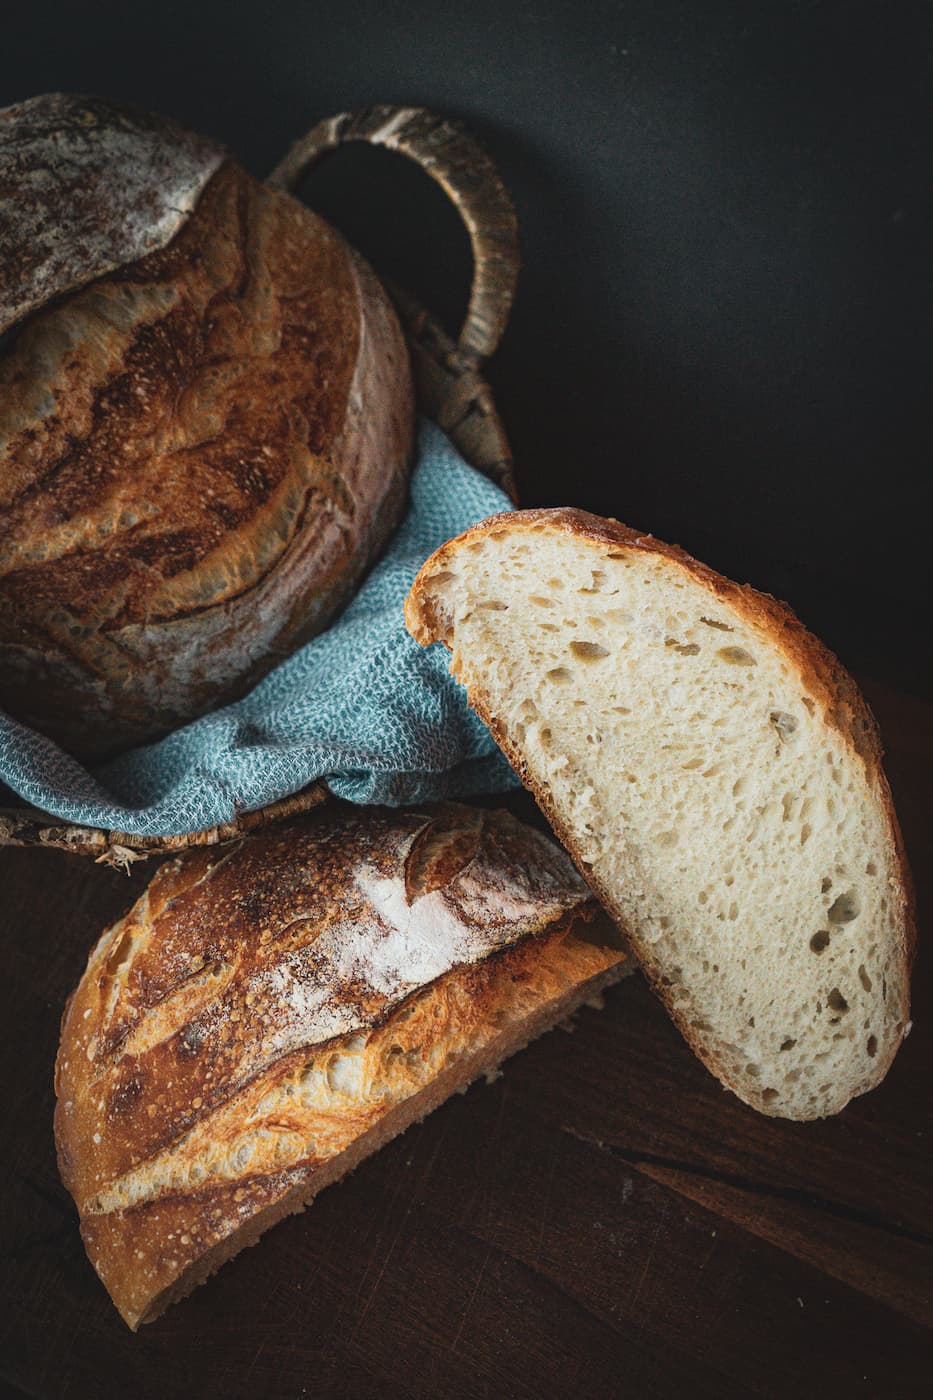
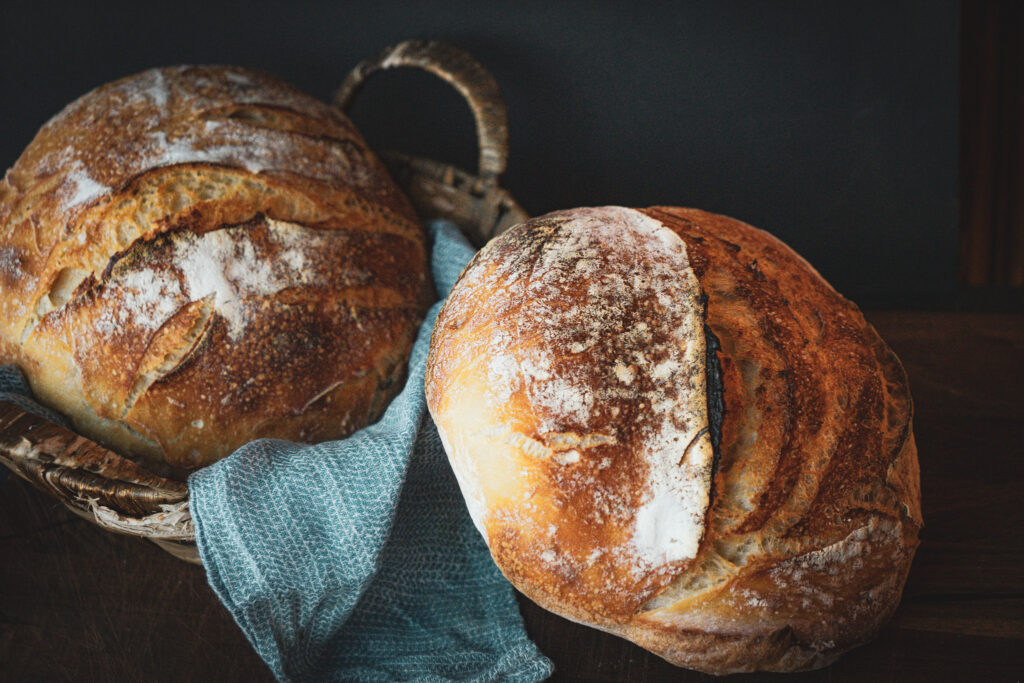
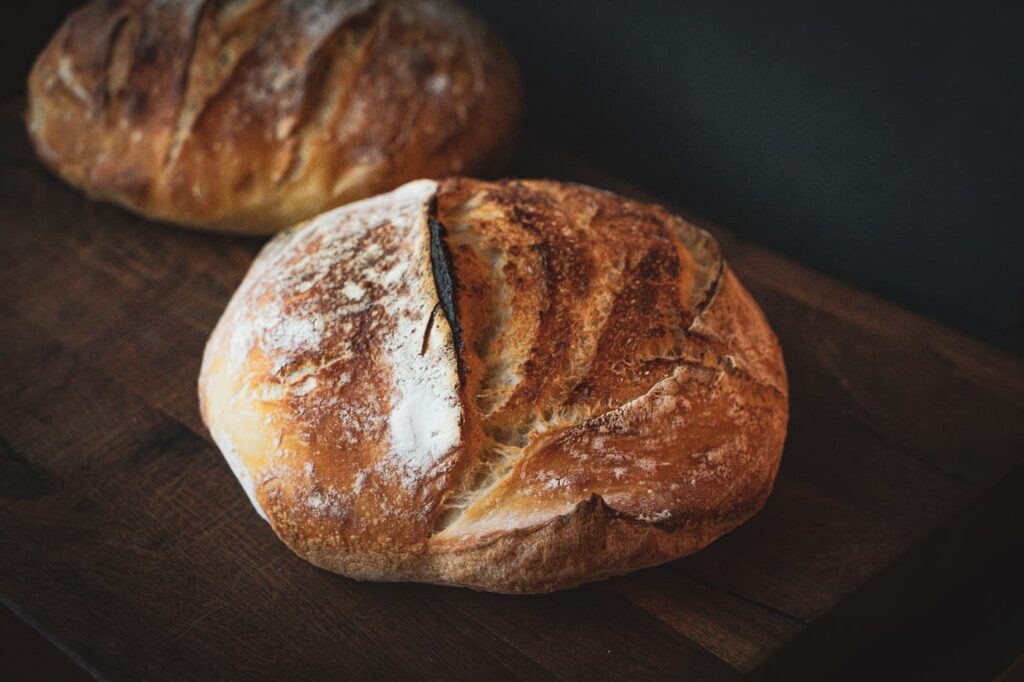
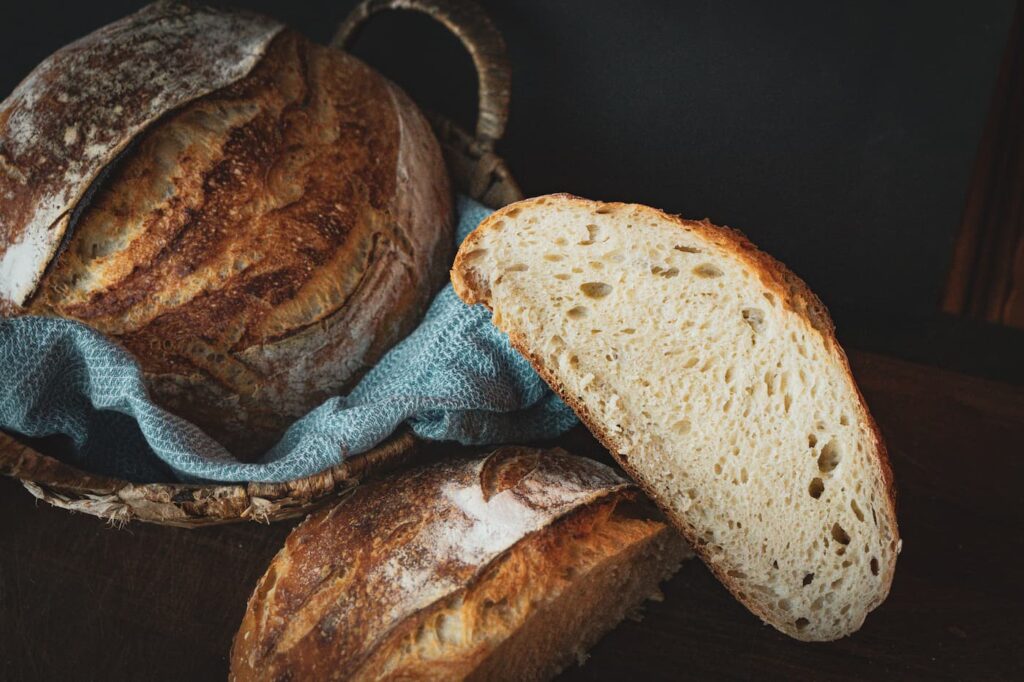
It’s flexible. It’s forgiving. And yet, it has that crackly crust, tall rise and the hydrated crumb you’re dreaming of.
Before You Start
Don’t have a starter yet? This cannot be replaced! A Starter Culture is the simplest method of getting started if you don’t have somebody to provide you with some.
Quick Tip about Water: Tap water may contain chlorine which can kill the bacteria in your starter. This may seem finicky, but it’s actually a good idea to avoid it. The simplest solution is to allow the tap water to sit out in an open container for one night. It’s also fine if the water was boiled and then allowed to cool. Or simply use filtered. Choose whichever seems to be the easiest.
And here’s my suggestion about flour: Use UNBLEACHED flour. Your starter may contain bacteria that will be killed by bleaching. Use AP flour for feeding, and bread flour to make a loaf.
Starter Prep
Before we begin, let’s define what an everyday sourdough starter is. It’s a jar of fermented flour and water that needs to be fed regularly to keep it alive! It’s the wild yeast and bacteria inside that make your bread rise, not the commercial yeast that you would use to bake it. It seems more complex than it really is! I promise.
This is where most people go wrong and fortunately it’s simple.
Feed your starter the night before you want to bake. That’s really it. You go to bed, it does its thing, you wake up to a starter that’s active, bubbly, and ready to go.
If you wish to change the feeding schedule to get going the same day heres the rules:
- Stored more than a week in the fridge → feed it about 8 hours before you make the dough
- Stored a week or less → 4 hours before mixing is OK.
When your starter has these characteristics you’re ready to use it:
- Volume: It has grown (doubled or even tripled) in size.
- Texture: It has a light, airy and domed top. The sides will have lots of bubbles.
- Smell: It has a pleasant, sharp, and tangy aroma.
Here’s exactly what feeding looks like:
- Take the starter jar out of the fridge
- Remove and toss roughly half, or even more. Yes, literally throw it away (or use it in a discard recipe). Discarding will help keep the starter out of becoming too acidic and from building up a stockpile of too much starter for what you would need.
- If you threw anything away, put back in 1:1 flour:water. If you removed 100g of starter, then add 100g flour and 100g water. If you threw out 140g, then add in another 140g flour and 140g water. It is always the same ratio 1:1:1, starter:flour:water.
- Stir until fully combined with no dry flour at the bottom
- Loosely cover the jar, it needs to breathe. If planning on baking then leave the starter out on the counter. Place it back in the refrigerator if not baking.
Everyday Sourdough Tools
The natural leavening culture that helps your bread rise and develop flavor.
Danish Dough Whisk Or large Spoon
Used to mix the dough ingredients quickly and evenly.
Helps handle, shape, and divide sticky dough with ease.
Lame or Serrated Knife
Used to score the dough before baking for controlled expansion.
Starter Jars or other glass container
Provides a clear space to store, feed, and monitor your starter.
Kitchen Scale
Ensures accurate measurements for consistent baking results.
Silicone Mat or Parchment Paper
Prevents sticking and makes transferring dough easier.
Proofing Basket
Supports the dough during its final rise and helps it hold its shape.
Traps steam during baking to create a crisp crust and excellent oven spring.
Avoid Overproofing
The dough should rise about 25–50%, pull away from the sides of the bowl, and show bubbles on the sides and surface. It should feel airy but still tight and strong. Good dough tension is key for oven spring.
Troubleshooting
Flat loaf: The dough was likely underproofed, overproofed, or made with a weak starter. Ensure your starter is active and ferment the dough until it has risen 25–50% and shows visible bubbles.
Dense crumb: The dough was underfermented and did not develop enough gas. Allow more time for bulk fermentation in a warm environment.
Burnt bottom: The bottom of the loaf received too much direct heat. Place an unheated baking sheet on the bottom oven rack to act as a heat shield during baking.


Everyday Sourdough
Ingredients
Everyday Sourdough – Ingredients
- 240 g active starter
- 425 g water
- 600 g flour
- 2 tsp salt
Instructions
Mix
- Pour the starter and water into your mixing bowl, and mix to dissolve the starter into the water. Add flour and mix until a shaggy and rough ball is formed. If it is too thick to be spooned out, use hands or a dough scraper. This is a very sticky dough.
Autolyse — 30 minutes
- Cover and let the bowl rest for 30 minutes.
- The flour will absorb all the water, the gluten will come together naturally, and when you return, the dough will already be smoother and more manageable. It does it for you, so you don't have to.
Salt + Knead
- Add your salt and begin to knead until your dough becomes cohesive and a bit springy. The dough will firm up from the salt but it should still be slightly tacky.
Bulk Fermentation — 6 to 12 hours
- Shape loosely into a ball, cover the bowl and allow it to rise until it doubles.
- 6-12 hours is a big range. However, the cooking time is influenced by other factors, such as the temperature of your kitchen, the strength of your starter, and the air's humidity. Pay attention to the dough, not the clock; experiment and find out what works for your starter and kitchen. If it seems noticeably larger and appears airy and alive, it's ready.
- It's also where all the flavor occurs. Don't rush it.
Shape
- Turn dough onto a floured surface and allow to rest 20 minutes uncovered. This helps to soften the gluten to shape easily.
- Rest: Stretch the dough out into a rectangle and fold the dough into thirds. Fold it into a compact ball by tucking in the edges towards the middle and tuck the bottom seam together.
Final Proof — 1.5 to 4 hours
- Cover and allow to rise until puffy and close to double the original amount. Same rules as before: observe, become familiar with surroundings. Use a proofing basket, if you have one. Otherwise a greased bowl works fine.
Preheat
- About 1/2 hour before the dough is ready to bake, heat the Dutch oven to 500°F. The Dutch oven must be placed in the oven cold, and the oven with the lid on will preheat throughout the cooking process. It is this that forms the steam that gives sourdough its characteristic crust and oven spring. Don't skip this.
Bake
- Place the boule dough on parchment or silicone bread baking mat. Score the top of your loaf, one bold cut down the center, or be fancy if you want
- Remove the dutch oven using oven mitts
- Use the handles of the bread mat or sides of the parchment paper to lift and place boule dough in Dutch oven
- Cover; bake at 500° F for 25 minutes
- Turn the oven to 400°F, open the lid, turn the pot around and bake for 12-15 minutes more.
- You want deep gold brown rather than light or pale.
Cool
- Remove and place on a wire rack.
- Now wait. At least 20 minutes. Ideally two hours. The loaf is still baking on the inside while cooling down and if you slice it too early, even if the outside looks good the inside will remain gummy.