
Authentic Neapolitan Sourdough Pizza Dough
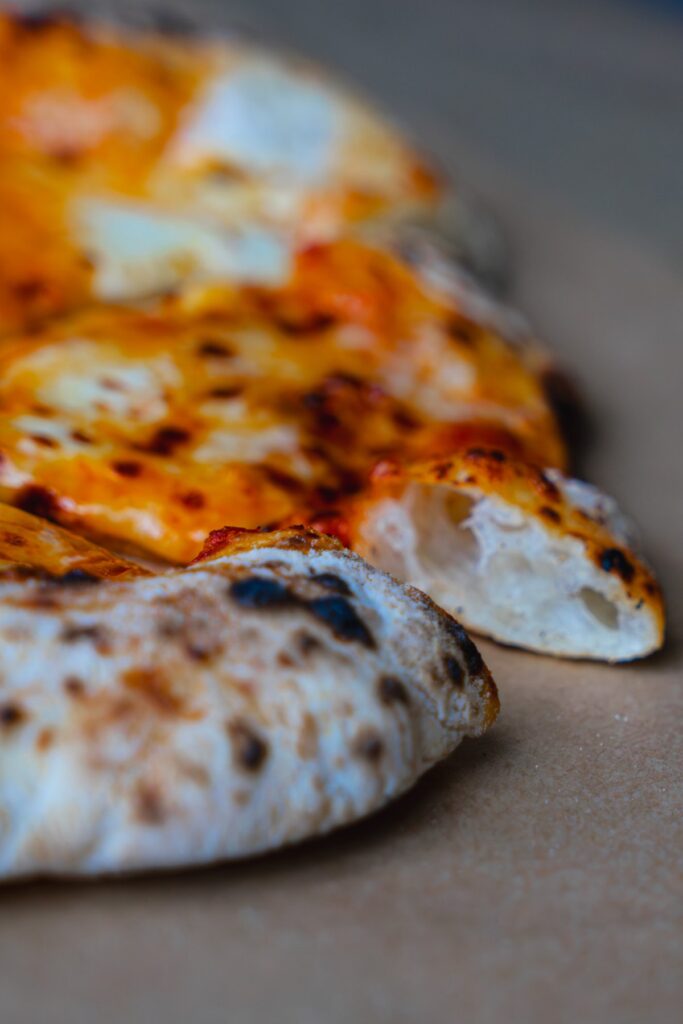
You’re out to make the most delectable artisanal pizza known to man. That’s a bit dramatic. But seriously this is the BEST pizza that you can make- and this is coming from someone who literally founded a pizzeria.
Don’t have Sourdough?
Or go ahead and try out my non-sourdough Cold Fermented Neapolitan Pizza Dough.
Working with Sticky High Hydration Pizza Dough
This dough is wet and it fights you. Here’s how to win. A stand mixer with a dough hook earns its keep here, this hydration is too high to knead comfortably by hand.
- Skip the flour and just oil your hands and work surface when working with the dough
- Stretch and fold the dough in the bowl prior to trying to shape into balls, this will build strength
- Use a dough scraper to move the dough around instead of your hands

Tools For Neapolitan Sourdough Pizza Dough
I seriously am obsessed with this. I use it for pizza dough, as well as bringing food to places and so much more. One of my favorite kitchen items.
Essential to get the ratios right for this recipe.
Pizza cutter or kitchen shears
I mean you’re welcome to just eat the pizza whole. But cutting it does help.
Pizza Oven or Stone/ Steel
We’ve had the OG Ooni for 7 years and it still works great. We’ve also owned Roccbox for 4 years and this works great as well. When I worked at Sur La Table, I used the Breville Indoor oven and was blown away! I will definitley have this in our kitchen one day when we have the counter space. For my pizza business we used Fontana Forni and will buy another when we have a permanent home.
For transferring your pizza in and out of the blazing hot oven without losing its shape (or your fingers)

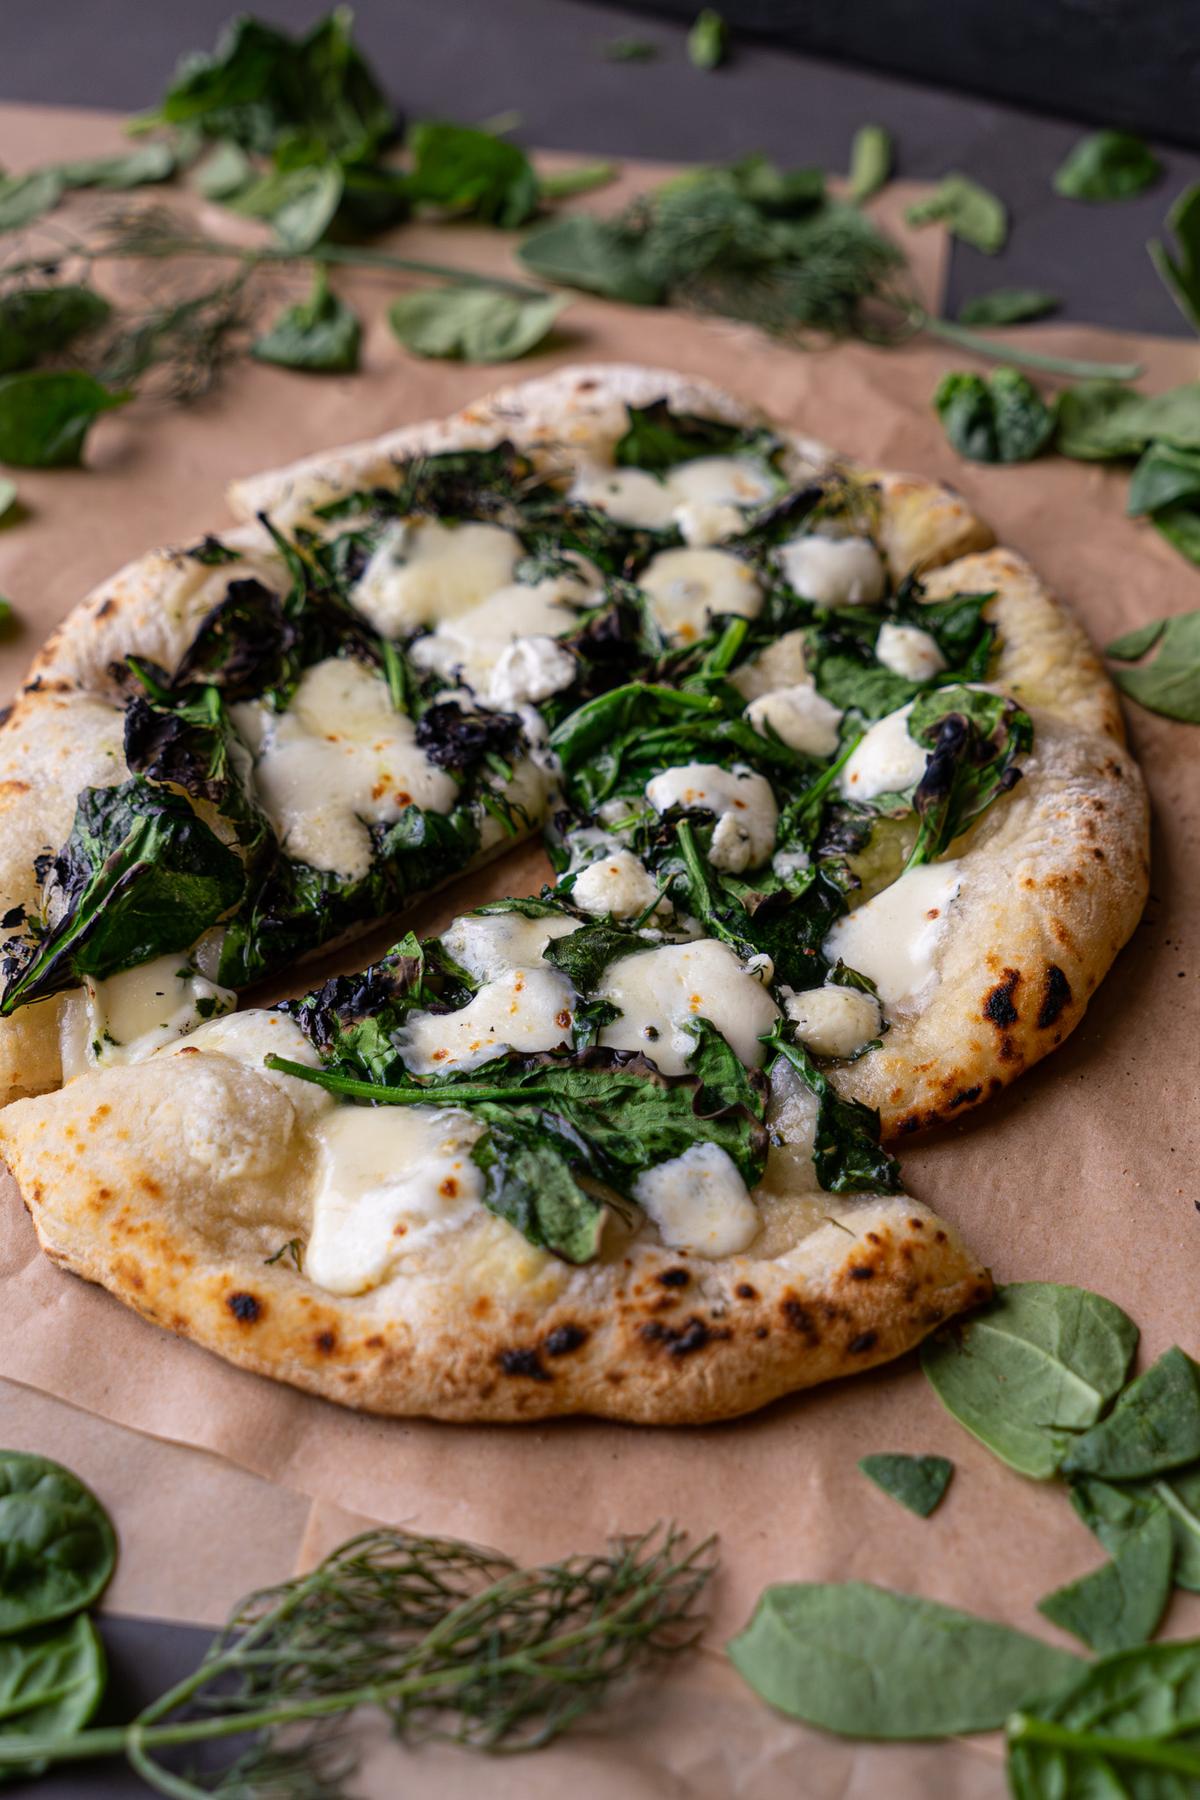
What to put on your Neapolitan Sourdough Pizza
Try my Spinach Pizza Recipe


48-Hour Cold Ferment Neapolitan Sourdough Pizza Dough
Ingredients
- 750 g 00 flour
- 460 g filtered water room temperature
- 265 g active sourdough starter 100% hydration
- 26 g fine sea salt
Instructions
Prepare Your Starter
- Feed your sourdough starter before making the dough so it is active, bubbly, and at or near its peak.
- The starter should have noticeably increased in volume and have plenty of bubbles throughout. You want an active starter rather than sourdough discard for this recipe.
Mix the Starter + Water
- Add the 265 g active starter and 460 g water to the bowl of a stand mixer.
- Stir until the starter is mostly dissolved into the water.
- Add the 750 g 00 flour mix on low speed until everything comes together into a shaggy dough with no obvious pockets of dry flour.
Rest — 20 Minutes
- Cover the bowl and allow the dough to rest for 20 minutes. (Remove and wipe down your dough hook so it's clean for kneading)
- This gives the flour time to fully hydrate and allows gluten development to begin before kneading.
Add Salt + Knead
- Add the 26 g salt.
- Knead with the dough hook until the salt is completely incorporated and the dough becomes smooth, elastic, and stretchy.
- The finished dough will still feel slightly tacky because of its high hydration, but it should have noticeably more strength than when you started.
Divide + Ball
- Turn the dough onto a clean work surface and divide it into 6 equal portions of around 245 g each.
- Shape each portion into a tight, smooth ball, creating surface tension without tearing the dough.
- Place the dough balls into a lightly oiled covered dough tray or individual covered containers, leaving enough room for them to expand.
Cold Ferment — 48 Hours
- Cover the dough tightly so it doesn’t develop a skin and transfer it directly to the refrigerator.
- Cold ferment for about 48 hours.
- During this long, slow fermentation, the sourdough starter will naturally leaven the dough while developing flavor and improving extensibility.
Final Proof — 4-6 hours
- Remove the dough balls from the refrigerator.
- Keep them covered and allow them to finish proofing at room temperature until they are relaxed, puffy, and easy to stretch.
- Rather than watching the clock alone, watch the dough. A properly proofed dough ball should feel soft, aerated and slowly spring back when gently pressed. Your starter culture, the temperature, and humidity will all play a factor in how long this takes- learn your kitchen.
Pre-Heat
- Most home pizza ovens take around 30 minutes to reach 800-900°F, but follow the manufacturers instructions. You want it ripping hot before you start stretching
Stretch
- Generously oil your work surface (skip the flour, this dough doesn't need it).
- Place one dough ball on the flour and gently press outward from the center using your fingertips, pushing the trapped gas toward the perimeter.
- Don't press down the outer rim. Those bubbles become your airy, blistered pizza crust.
- Lift the dough and gently stretch it between your hands, allowing gravity to do most of the work.
- Stretch to approximately 10–12 inches.
- Never use a rolling pin.
Top + Bake
- Top lightly. Neapolitan pizza does best with less sauce and cheese than you might initially think.
- Transfer to a pizza peel and bake in a fully preheated pizza oven at approximately 800–900°F until the crust rapidly rises, blisters, and develops charred spots.
- Rotate as necessary for even baking.
- Serve immediately.