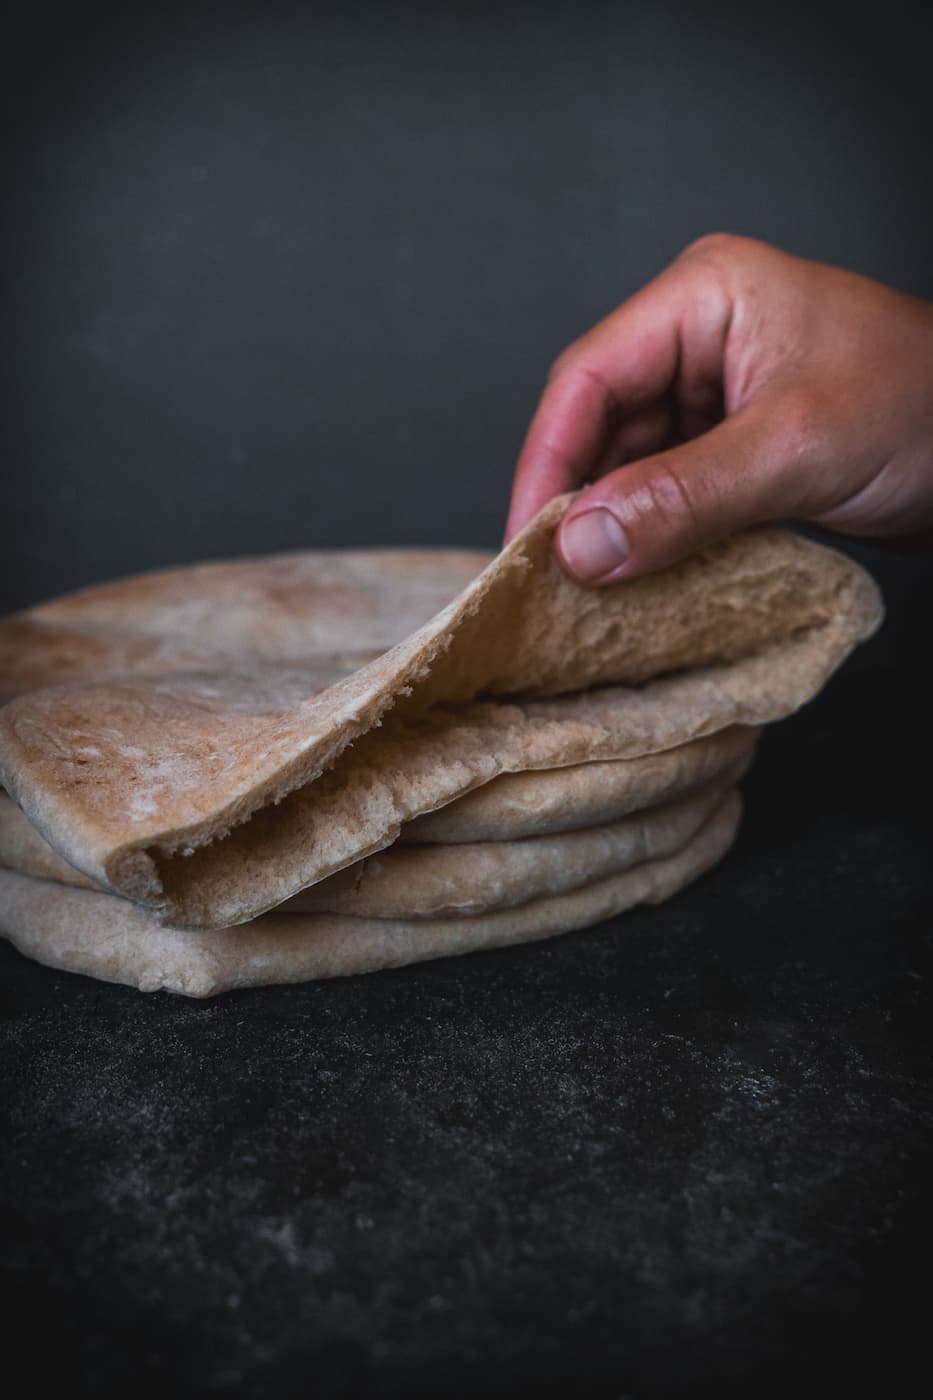
Easy Homemade Pita Bread: The Secret to Perfect Pockets Every Time
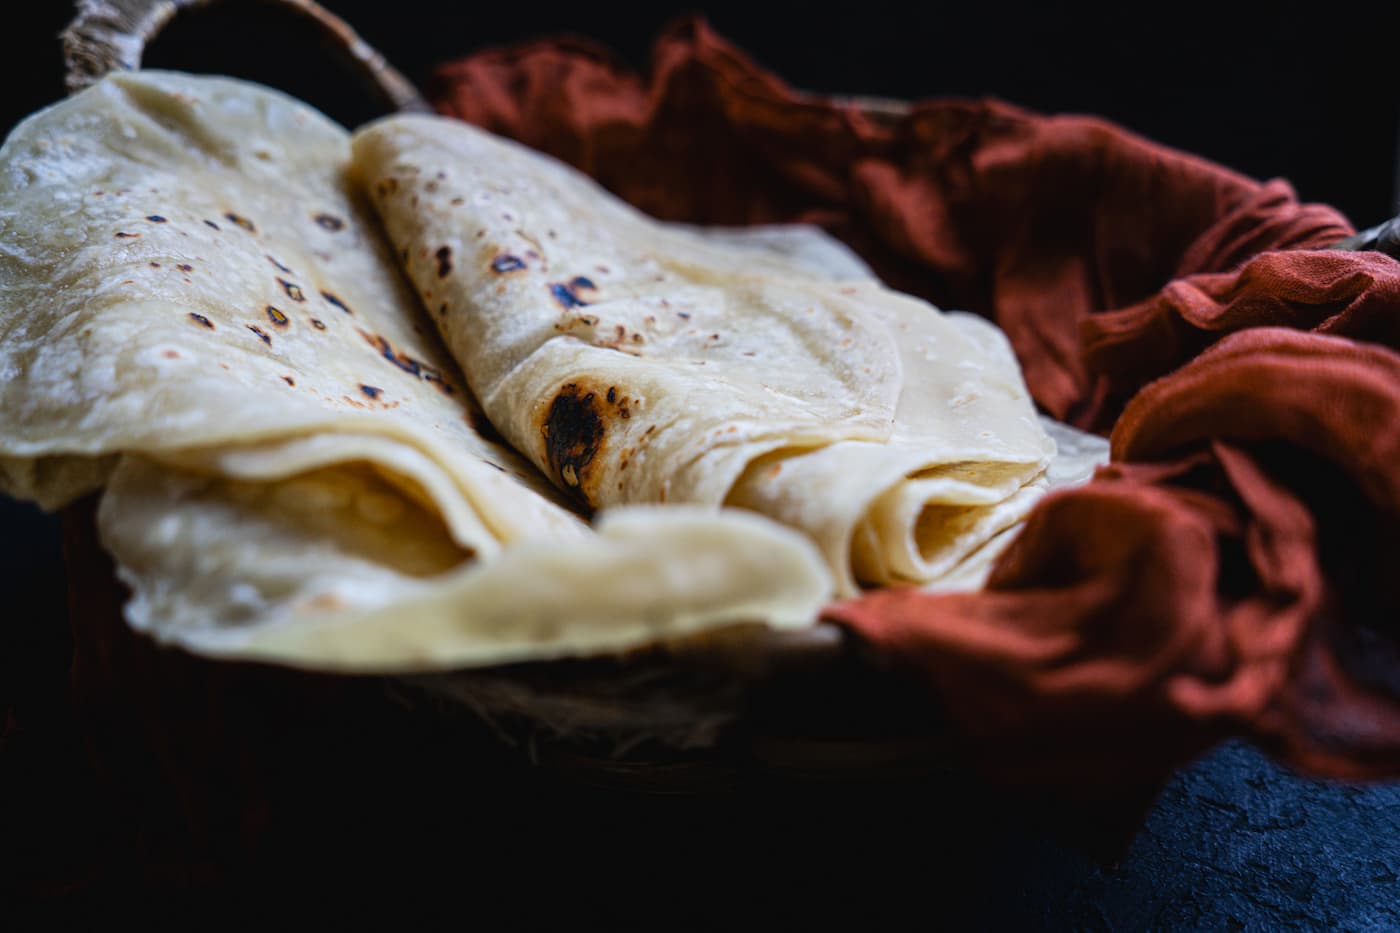
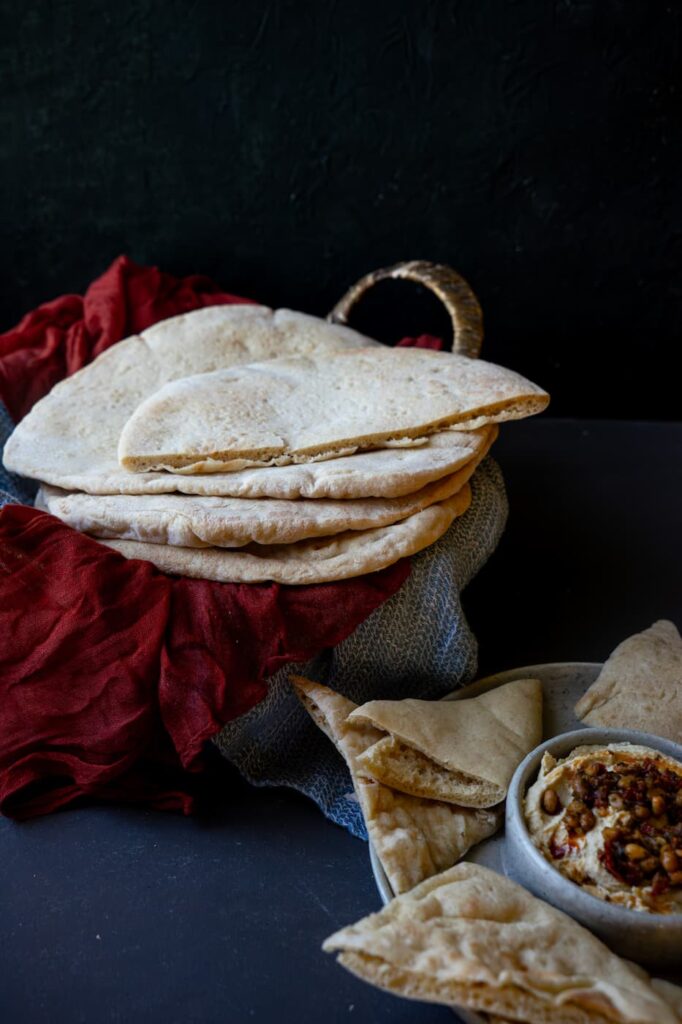
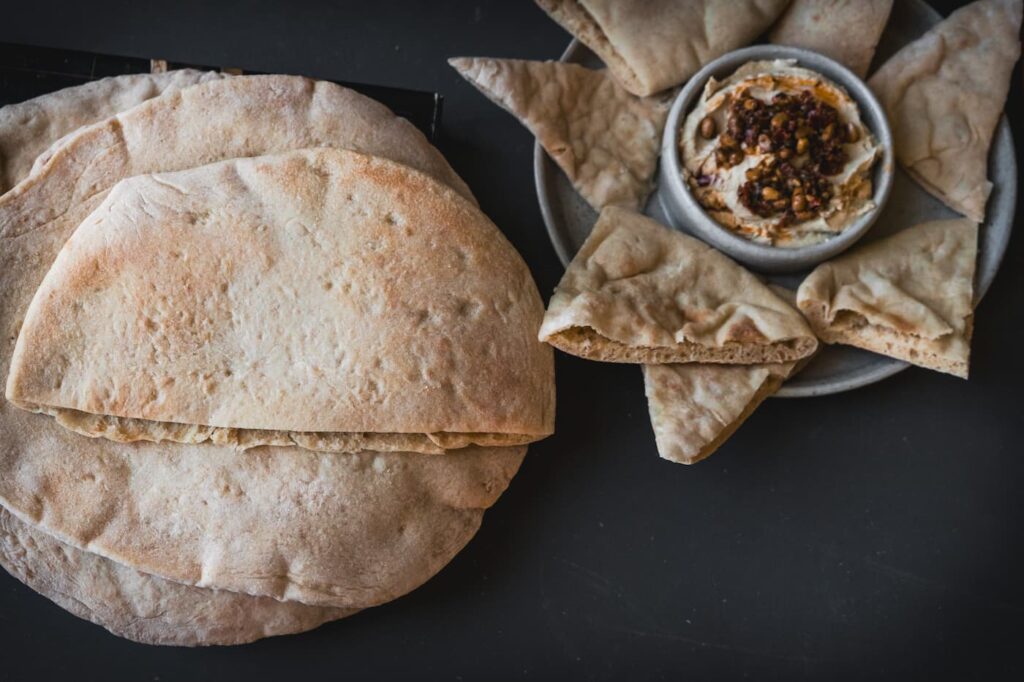
There’s nothing like warm freshly baked pita with soft layers and just the right amount of puffed pockets. This pita bread recipe is easy and uses straightforward ingredients and some basic techniques to make bread at home that’s as good as bakery bread. These pitas are soft, flavorful, and stupid easy to make, whether you fill them with your favorite ingredients or dip them in hummus.
Why This Pita Bread Recipe Works
Good pita comes down to a well-developed dough, even shaping, and a seriously hot oven. This recipe balances bread flour, all-purpose flour, and whole wheat flour, so you get pitas that are strong enough to hold a pocket but still soft and flavorful. With the proper hydration and baking technique, you’ll always produce light and airy pitas with stunning pockets.
The Real Reason Pita Puffs
The Role of High Heat & Steam
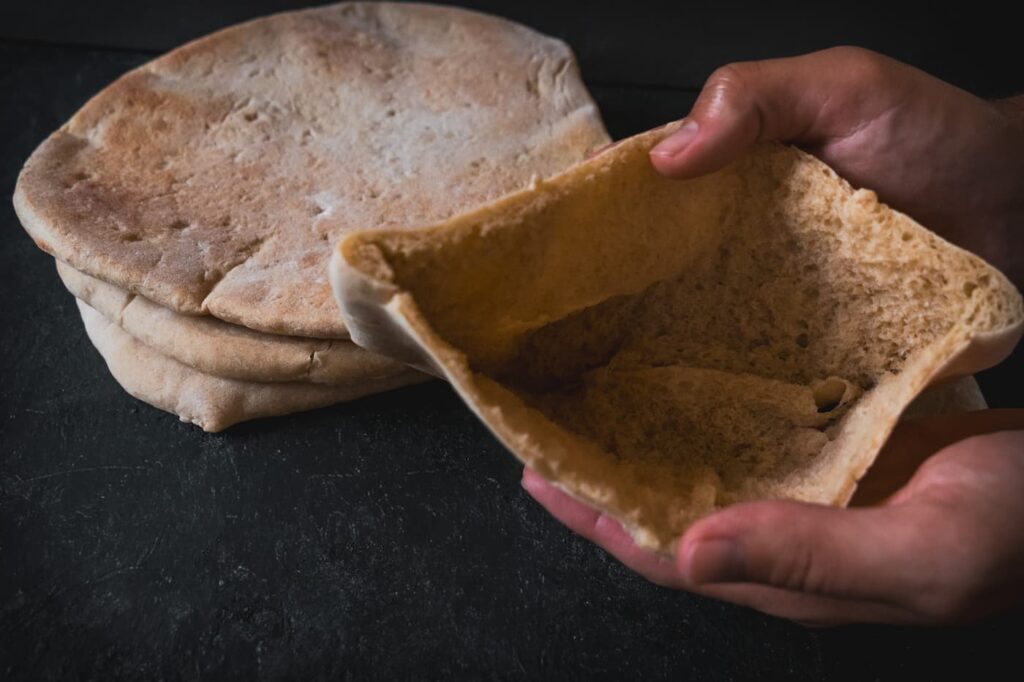
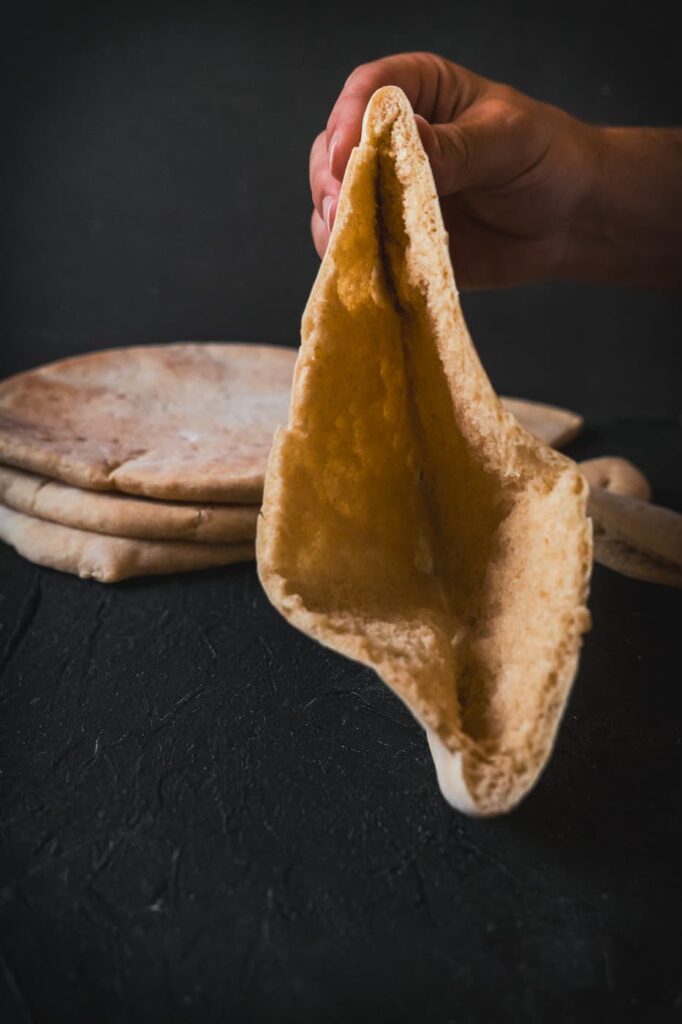
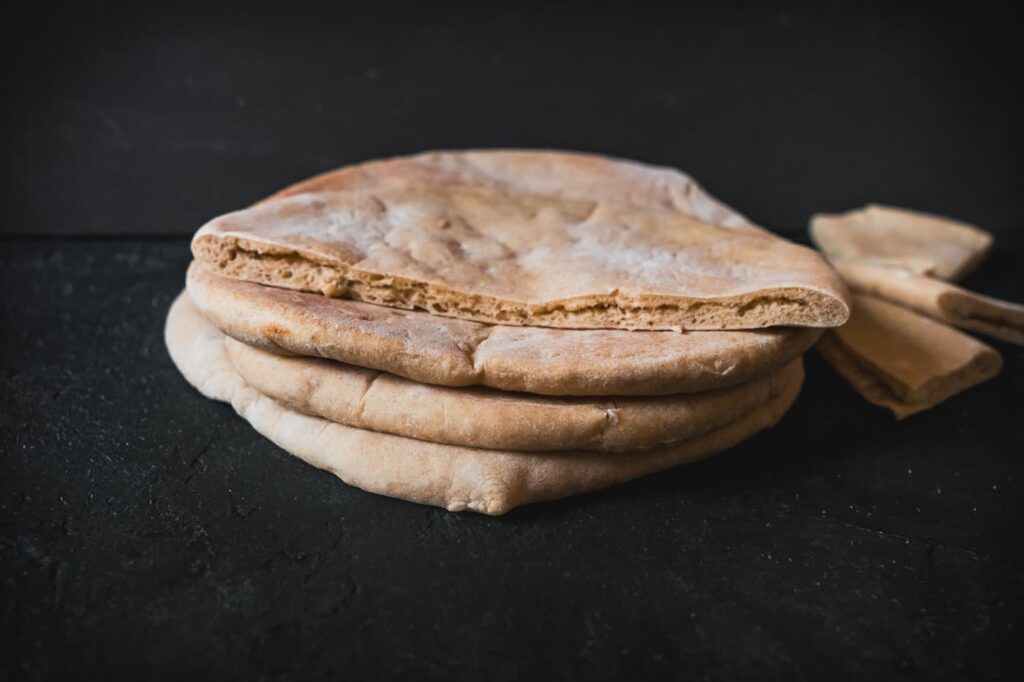
The signature pocket inside pita bread has nothing to do with yeast, it’s made by steam.
When pita is put in a very hot oven, the steam inside the dough quickly expands, causing the dough to rise. The steam is unable to escape and it separates the top and the bottom layers, inflating the pita much like blowing up a balloon. When cooled, the steam escapes and leaves the hollow pocket.
Why Consistent Rolling Thickness Matters
If one part of your dough is thinner than the rest, that thin spot cooks (and hardens) way before the rest of the dough catches up. And once it’s hardened, steam can’t push through it evenly. Instead, it escapes through that one weak point instead of puffing up the whole pita into that gorgeous pocket you’re going for.
So the fix is simple: roll for even thickness, not just even size. Aim for about ¼” (6mm) thick, measuring from the center of the dough outward. And go easy on the edges — if you press the edges too hard, it thins them out and creates the exact weak spot that lets steam escape before it can do its job.
How to Shape Homemade Pita Pockets
Divide the dough into small balls. Gently work the surface of each one under your hands until it’s smooth and tight, then pinch the seam closed at the bottom.
Before rolling, let the dough balls rest, covered under your sheet pan lid (or a clean towel), for 30–40 minutes. This relaxes the gluten so the pita puffs up evenly once it hits the heat.
Shaping & Rolling into Even Circles
Roll each dough ball from the center outward, turning it as you go so the thickness stays even all the way around. Don’t stress about getting a perfect circle. A slightly wonky shape is totally fine. What actually matters is even thickness, about ¼” all over. That’s what lets steam puff the pita up evenly in the oven, not how round it looks.
What you’ll need
Essential to get even Pitas. Stretching by hand will prevent a balloon like puff.
Optional but saves you a lot of arm work.
Any Pizza stone works, or a pizza oven if you own one, and I’ve even had successful puffs warming up a sheet pan upside down. You Can also use a cast iron pan in the oven.
This might be my favorite tool in my kitchen. Makes making pitas, pizza dough, and much more a breeze. No messing with floppy plastic wrap or dealing with skins on your dough!

Ingredients
- 351 grams bread flour
- 192 grams all-purpose flour
- 96 grams whole wheat flour
- 440 grams warm water 95–100°F
- 12 grams salt
- 6 grams active dry yeast
- 2 teaspoons sugar
- 2 tablespoons olive oil
Instructions
- Activate the yeast: Add 6 grams active dry yeast and 2 teaspoons sugar to the 440 grams warm water (95–100°F) in a small bowl and let sit for 5 minutes
Mix the dry ingredients together
- In your large bowl, combine the 351 grams bread flour, 192 grams all-purpose flour, 96 grams whole wheat flour, and 12 grams salt, and whisk to evenly distribute.
Bring the wet and dry together
- Stir the yeast mixture and 2 tablespoons olive oil into the flour and stir to make a shaggy dough.
Knead until smooth and elastic
- Knead by hand for approximately 10 minutes or in a stand mixer on medium, 6–7 minutes, until the dough is smooth, stretchy, and a bit tacky.
First rise
- 2 hours at room temperature: Put the dough in a lightly oiled container, cover it, and allow it to rise at room temperature, preferably 75–78 degrees F, for 120 minutes
- . Return at the 1-hour mark to do one stretch-and-fold: wet your hand, take one end of the dough, stretch it upwards, and fold it over the center. Rotate the bowl and repeat four times. This develops gluten power without further kneading, then cover it up again and leave it on its own.
Divide and shape into balls
- Place the dough on a floured surface and divide it into 200 g dough balls. Roll each into a tight, smooth ball by pulling the surface taut and pinching the bottom closed. Take only just enough flour — little goes a long way.
Rest the dough balls
- Let the shaped balls rest, covered, for 30–40 minutes before rolling. Use this time to preheat your steel or stone at 500–550°F.
Roll out the pitas
- Roll each ball evenly to about ¼ inch (6 mm) thick, working from the center outward so the thickness stays even across the round.
Bake until they balloon
- Bake on the thoroughly preheated steel or stone at 500–550°F until the pitas puff up and balloon. Work in batches, rolling out the next pita while the current one bakes so they go in one after another.
Sourdough Discard Variation
Replace 50 g of the flour and 50 g of the water with 100 g of unfed sourdough discard. The discard adds a mild tang, improves browning, and helps the pita stay soft longer without affecting its ability to puff. For even more flavor, do the first rise through the stretch-and-fold as usual, then move the dough to the fridge overnight instead of finishing the full 2 hours. Let it come to room temperature the next day before shaping and baking.
Flat pita?
It could be from an under-heated oven, uneven rolling, or dough that dried out prior to baking.
How to Store and Freeze Fresh Pita Bread
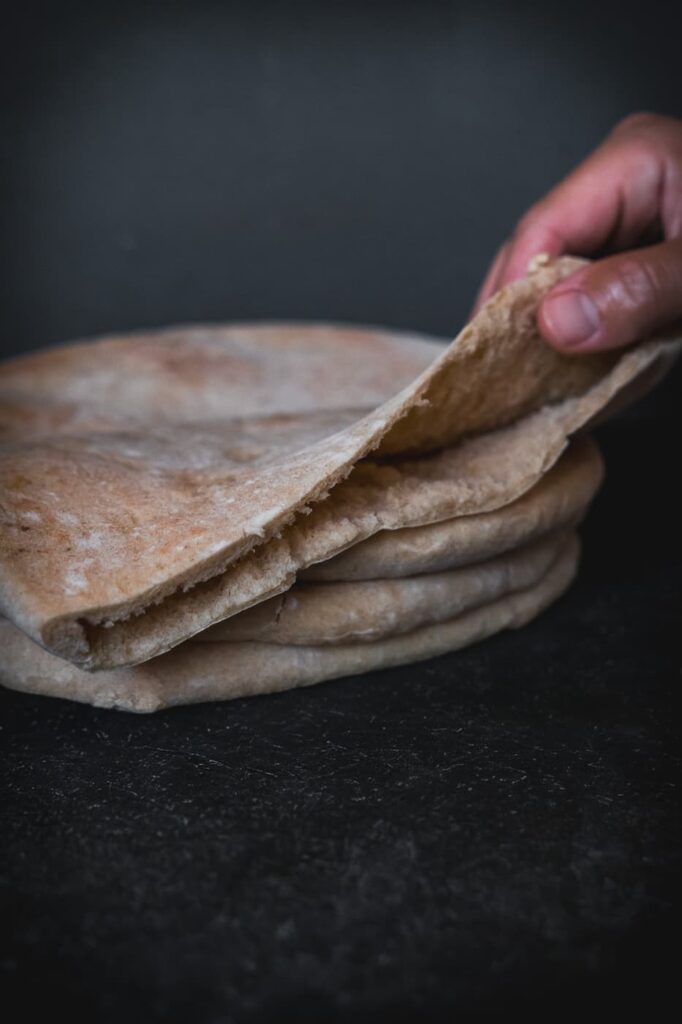
Put cooled pita bread in a cool, covered container and refrigerate it for up to 3 days. Freeze pitas with parchment paper in between for up to 3 months for longer storage. Warm in a warm oven or pan until soft and ready to eat.
To make a healthy and delicious meal combo, serve your homemade pita bread with my Minted Yogurt and Onion Dip, that I learned to make in a James Beard restaurant!